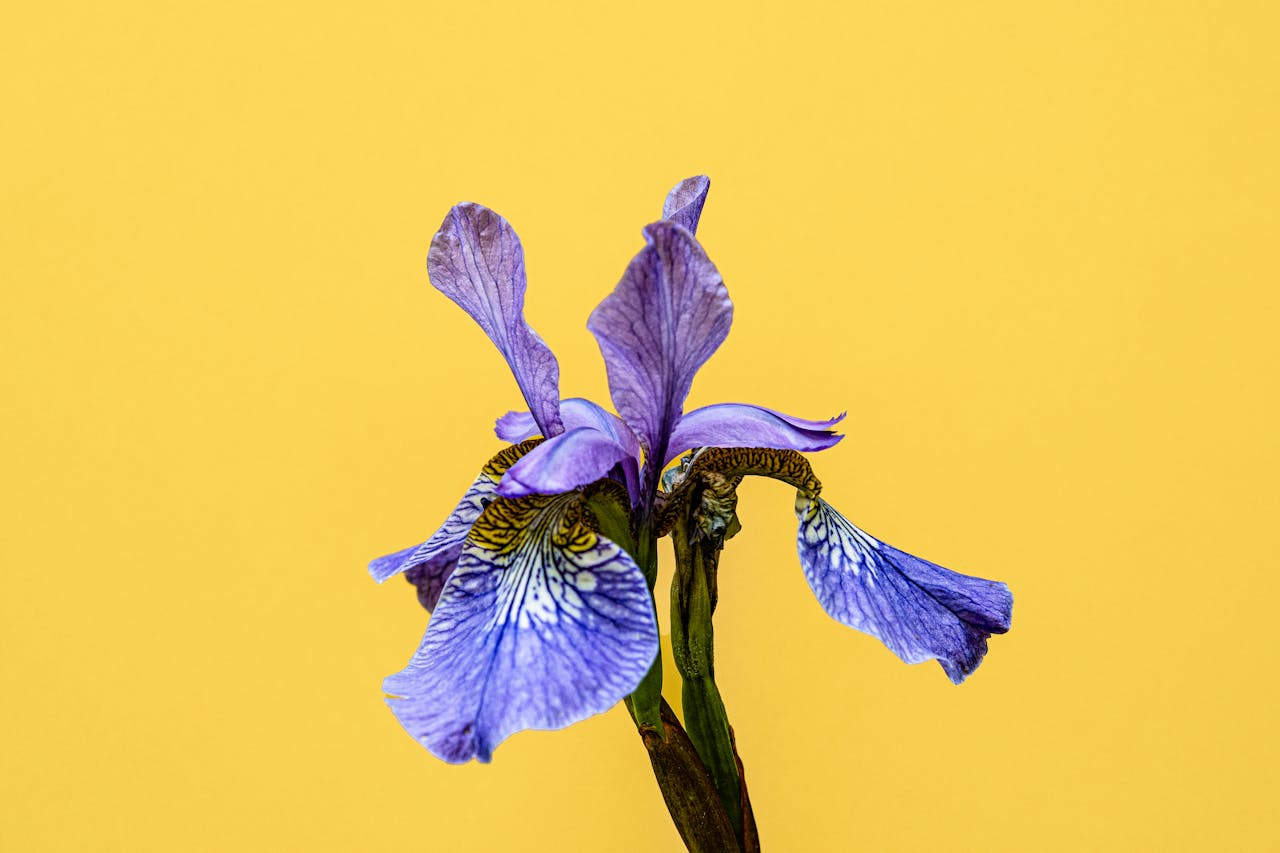
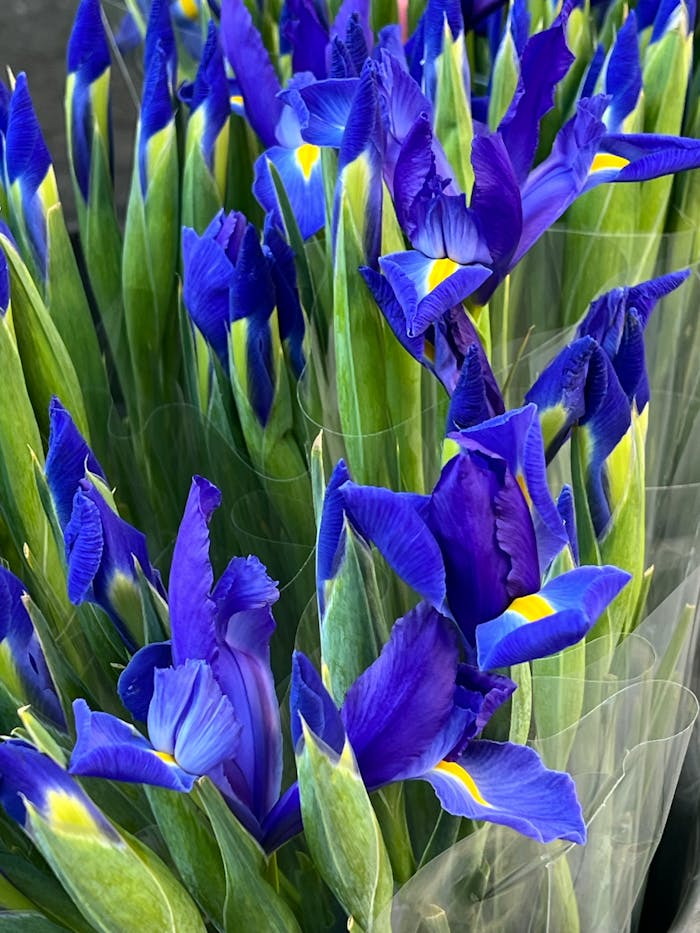
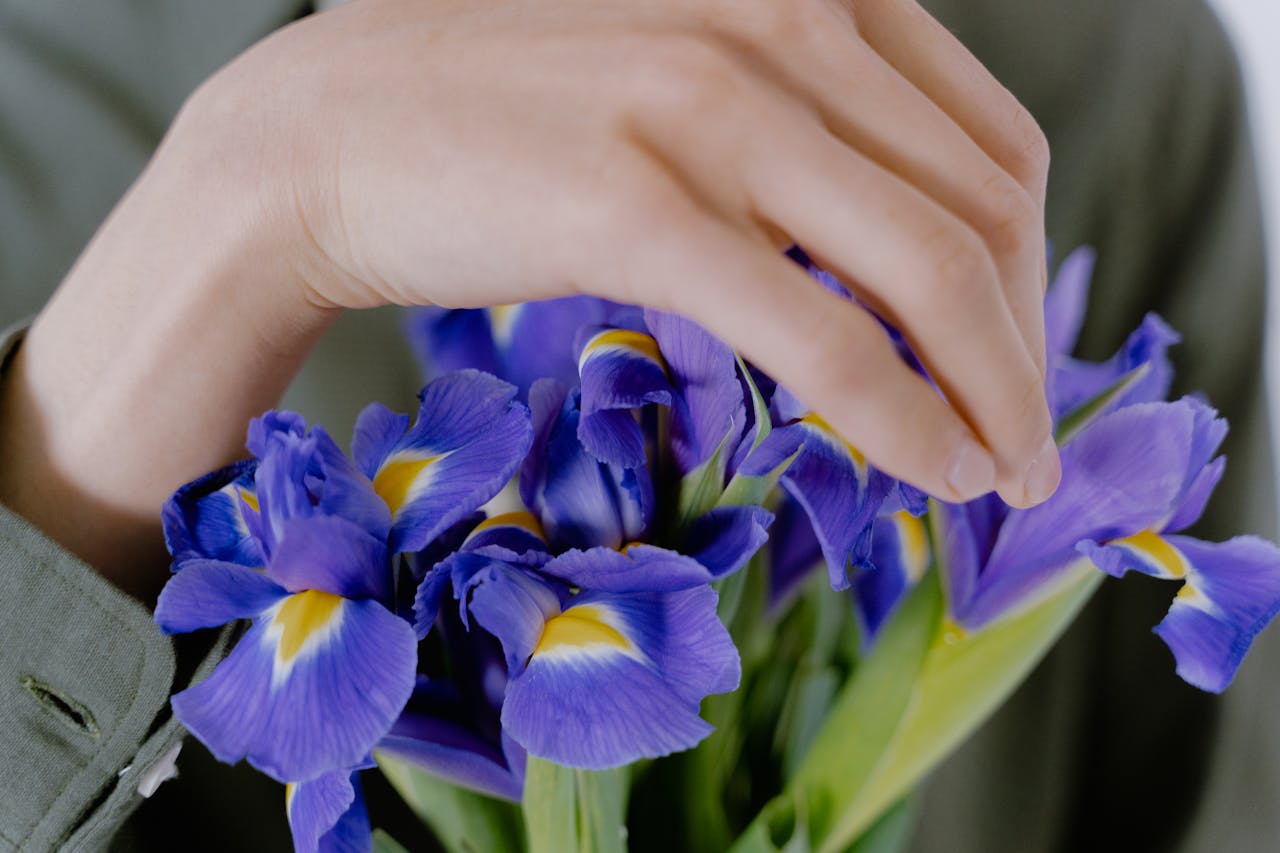
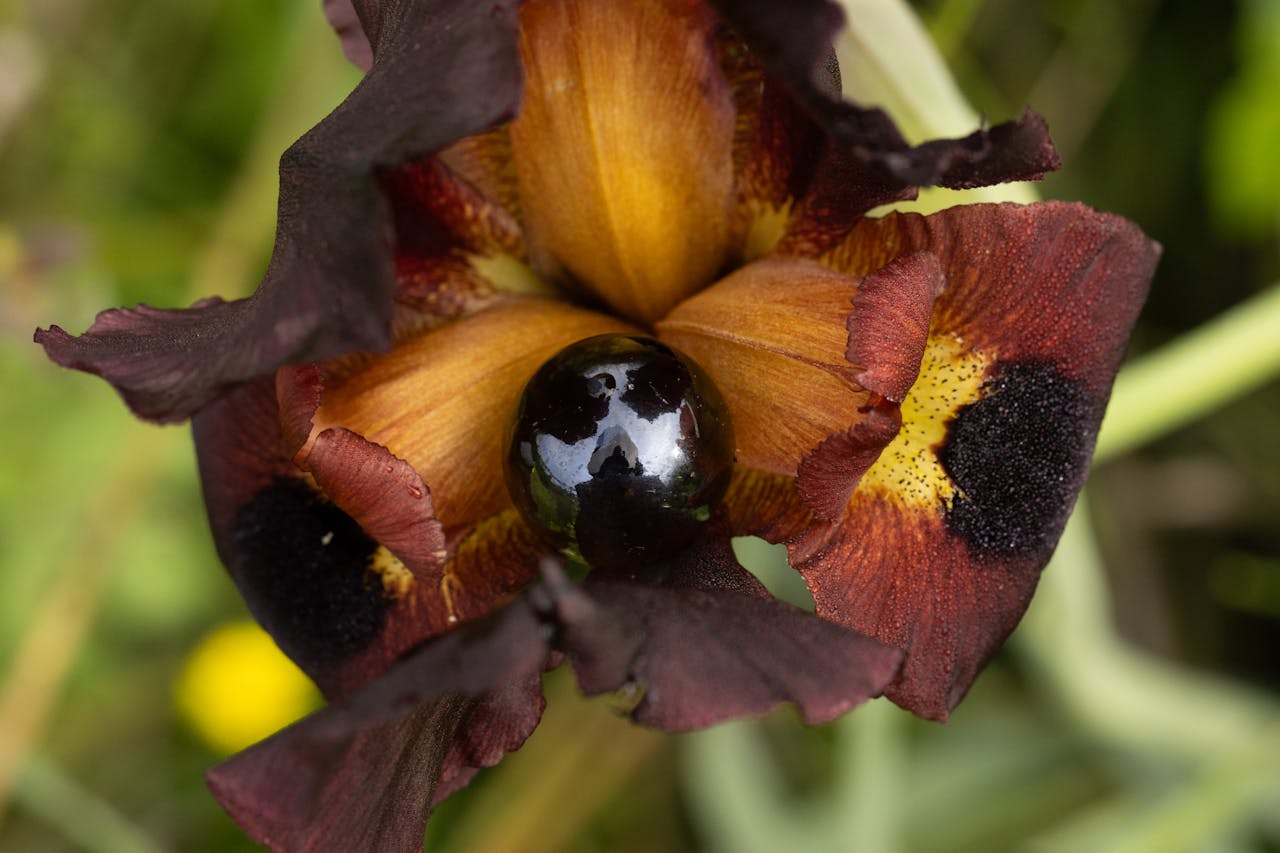
Winterberry Iris Gardens


,

ph:

  • Home
  • Tall bearded irises prices
  • Reblooming Irises TB prices
  • Border Bearded Iris prices
  • Intermediate bearded irises
  • Miniature tall bearded irises
  • Standard dwarf bearded irises
  • Miniature dwarf irises
  • 2023 Introductions
  • 2022 Introductions
  • 2021 Introductions
  • 2020 introductions
  • InformationClick to open the Information menu
    • How to Hybridize a Bearded Iris
    • Iris Reproduction
  • Hybridizing Bearded Irises
  • Iris Culture
  • Iris Descriptions
  • Services
  • About Us
  • Contact Us
  • Ordering information

How to Hybridize a Bearded Iris

The art and fun of iris hybridizing is in choosing which pollen parent to cross on which pod parent. The chapter on iris genetics by Dr.Kenneth Kidd in 1978 The World of Irises is still useful to help you reach your goals. Also, there is useful information on hybridizing irises in current and back issues of the AIS Bulletin and iris section publications. If you look at our drawing of an iris plant in this catalog the top flower clearly shows the parts you use to make a cross.  The vertical rod, called the anther, contains two rows of pollen sacs with thousands of pollen grains and is attached by a long filament. The anther plus its filament is called the stamen. To prevent self-fertilization by crawling insects, you should first remove all three stamens from the pod parent flower by carefully grasping each filament with tweezers.  Choose a pod parent flower that has recently opened so a bumblebee will not have already brought pollen to it, which rarely, but does occur. With tweezers, take the three stamens from the pollen parent flower choosing an older flower in which the pollen sacs have opened and the pollen looks powdery.  With thumb and forefinger, gently hold the top crests of the style arm so the horizontal stigmatic lip is opened. With the other hand, hold a stamen with the tweezers so the powdery side is down and swipe first across the top of the stigmatic lip and then across the bottom of the stigmatic lip. Do not swipe again or the pollen may be wiped off.  Then, take the second stamen for the second style arm and then the third stamen until all three stigmatic lips have been loaded with pollen. Attach a tag on the stalk or marker at the base of the stalk telling which flower on the stalk was pollinated and the parents used listing the pod parent first and then the pollen parent.  Make a full description of your cross with date and the goal of the cross in a bound, record book.   

The pollen grains will germinate in minutes and begin growing pollen tubes down to the green ovary positioned below the falls and wrapped in two spathes. Carefully remove these two spathes by gently tearing them off sidewise so you don’t break off the flower.  Aphids can hide under these dried spathes from their insect predators and sap the strength of the developing pod.  The pollen tubes take about 8-12 hours to reach the ovules in the ovary, and each pollen grain’s tube sperm nucleus fertilizes one ovum in the ovule. The ovules are attached by stalks to the center of the ovary called the placenta and receive nutrients from the placenta as each ovule develops into a large seed. There can be up to 100 seeds per pod in tall bearded cultivars.

Some hybridizers get best results by crossing in early morning, but I find any time of day is OK. If it is too hot or too damp the cross may not take.  Make your crosses about three hours before a rain or cover the flower with a clear plastic bag with a corner removed to allow hot air to escape. The ovary will develop into a swollen pod.  In about two months the pod will turn tan and crack at the top when it must be harvested.  Place the pod in a paper sandwich bag and store in a cool basement to complete its drying.  In early fall, separate the seeds and place in a new sandwich bag on which is written the cross information.  Arrange the bags, in groups, as to different goals. Give each bag a number so you have the year of the cross and the cross number as 09-1. Later, add a letter for selected seedlings as 09-1A. List all crosses by their numbers in your record book. Record all the information on the paper bags in your bound, record book. Good record keeping is essential for success as a hybridizer.  Someday, your record books may reside in the AIS library collection.  A cross worth making is a cross worth recording.  


By November 1, plant the seeds in the ground at least four inches apart in a well-prepared seedbed or in pots. Plant the seeds a depth of three times their thickness.  Presoaking the seeds before planting by placing them in sections of stockings or muslin bags for ten days - changing the water each day - will increase the rate of germination from about 40-60% up to 90 to100%.  This presoaking removes the germination inhibitors from the seed coat.  The seeds need 90 days of cold to germinate in the spring.  Green seedlings will sprout in April and May. Do not let the seedbeds or the seed pots ever dry out, watering every other day if necessary. When the seedlings develop four leaves they can be safely dug from the pots and replanted in a prepared bed.  You will have your first stalks and flowers in one year for an occasional rebloomer, but usually in two or three years. Transfer choice seedlings as soon as you can to select beds planted about 1 foot apart.  Seedlings good enough to register by name with the AIS and introduce are lined out about 18” apart.  In a minimum of five years you may go from cross to your introduction with a minimum of 100 plants to sell - try to grow at least 250 plants for an extraordinary seedling.  Healthy, vigorous growth and rapid increase are essential traits.  You will need enough increase so you can send your seedlings to international, national, and regional competitions so they can be appraised by AIS garden judges and possibly win HC or other awards.  Entering stalks of your seedlings in iris shows gives them a chance to receive EC awards for best seedling in the show or for receiving votes from at least five AIS judges.  To win major awards, your introduction needs to be distributed widely, requiring growing hundreds or thousands of the cultivar. 

Mac and Ray hybridizing
Don Spoon (left) teaching Ray Jones (center) and Mac Shawe to hybridize. All three are members of the C&P Iris Society where they meet in the northern Virginia area.

Judge's training at Regional and National meetings help AIS judges to evaluate the irises for awards. Below is our late president of the American Iris Society and former Regional Vice President of Region 4, Roy Epperson giving judge's training.

Copyright 2011 Winterberry Gardens. All rights reserved.

Web Hosting by Turbify


,

ph: